Selenium 是一种开源工具,用于在 Web 浏览器上执行自动化测试(使用任何 Web 浏览器进行 Web 应用程序测试)。简单地说,就是可以在浏览器中自动模拟用户的行为。
新版的 Selenium 提供了很好用的 IDE ,再也不用不停地去查文档了。让我们来一起体验一下吧。
使用 Selenium IDE 录制测试用例
Selenium 的 IDE 非常轻量级,是以浏览器插件的形式提供的。打开 Selenium 的官网,可以看到它提供了三个产品。第一是 Driver ,用于通过编程来实现自动测试。第二是 IDE ,用于录制和回放自动测试。第三是 Grid ,用来进行分布式测试。这里我们只用到前面两个。
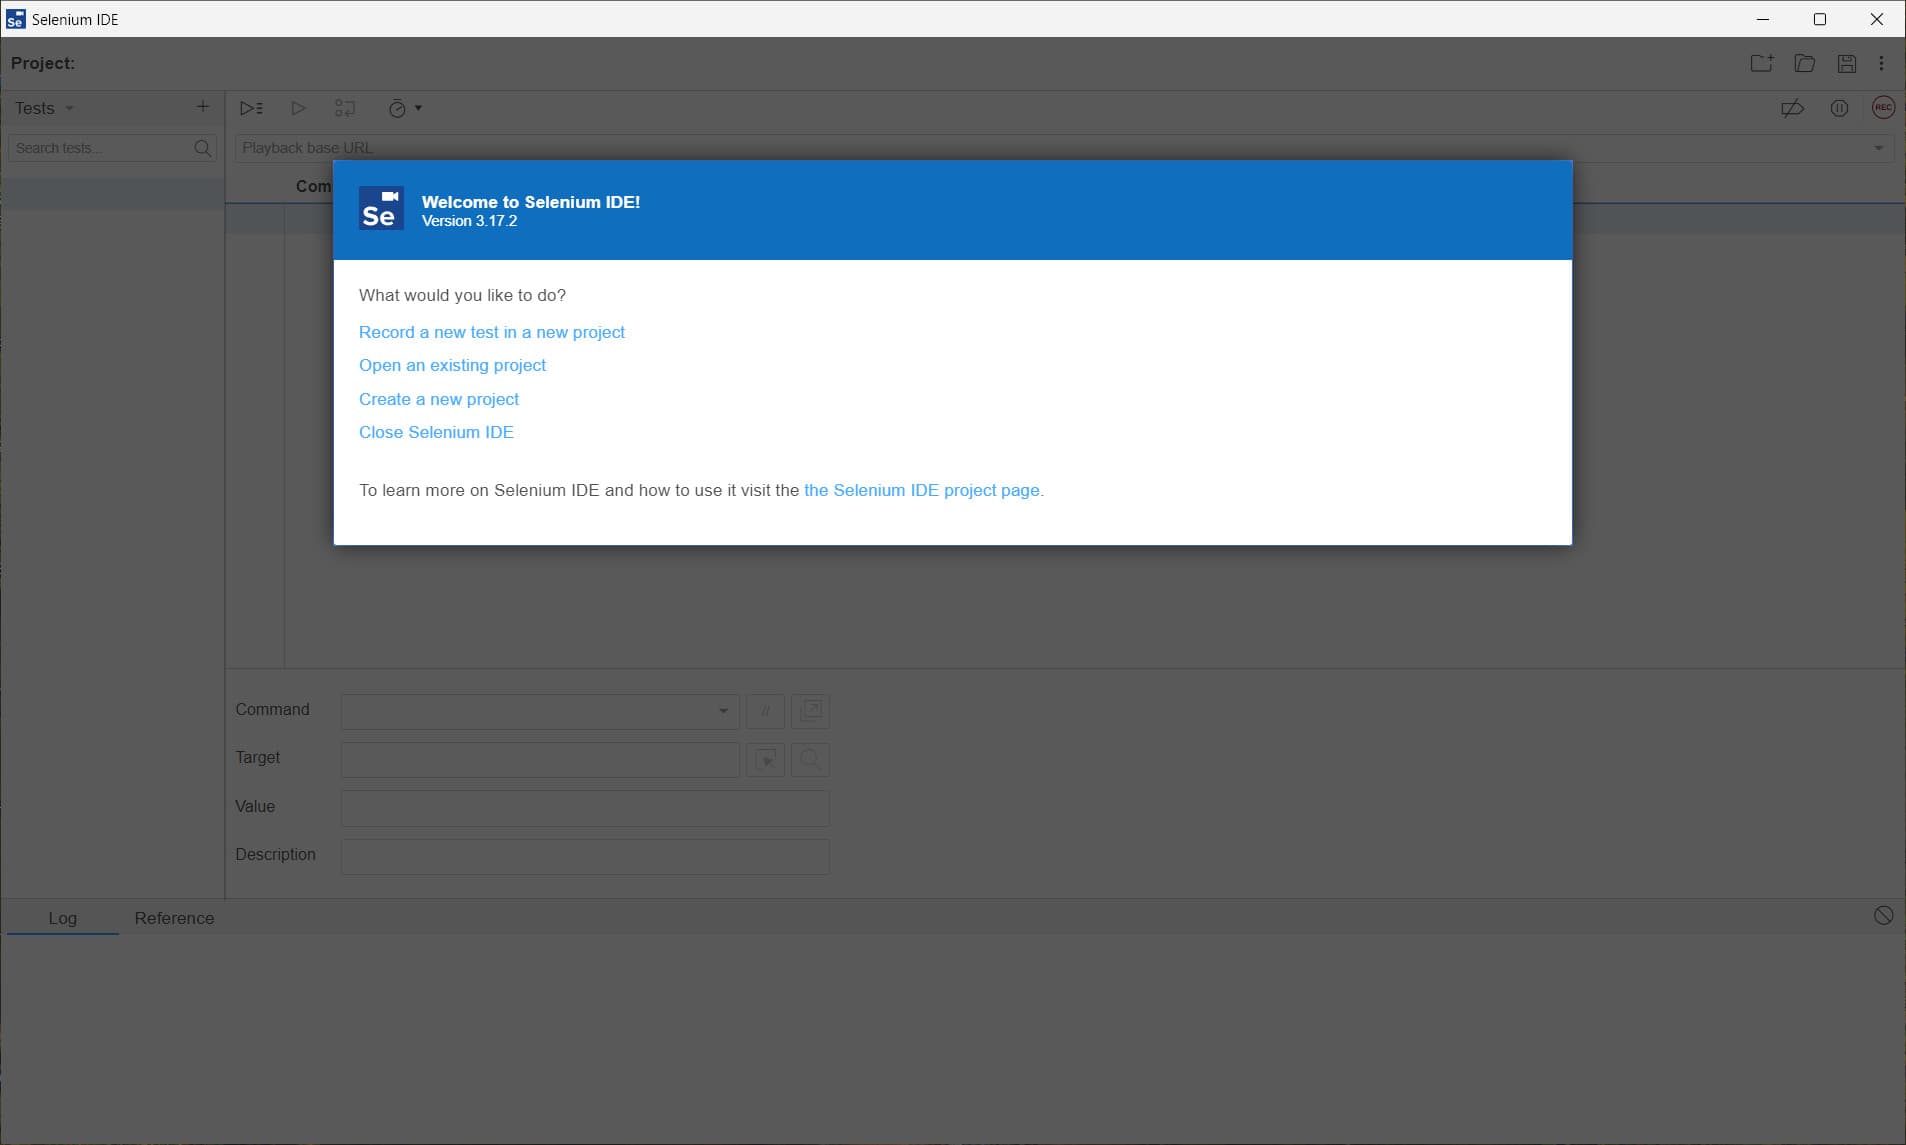
先点击 Selenium IDE 下面的 READ MORE 进入介绍页面,然后就可以找到下载界面。一般我们使用 Edge 或 Chrome 浏览器,可以点击第一个按钮下载安装,其本质是一个浏览器插件。安装完成后运行,界面如图所示。
在欢迎页面中,选择第一个 Record a new test in a new project 。在弹出的对话框中要先为 project 起一个名字,这里我们叫 peer_tester 。然后需要有一个入口 url ,这里我们就输入在 PEER 的 NGA West 2 数据库中下载地震波的页面 url:
下面按下载地震波的过程操作。首先输入用户名和密码登录,然后不提供反应谱,直接点 Submit 按钮,进入新的搜索页面。这里我们在 RSA 一栏里面随便输入一个编号,如 123 。然后点击 Search records 。得到地震波后,再点击 Download Time Series Records 按钮,再点击两次确定,即可完成下载。
在页面的右下角,可以看到一个一直在闪烁的提示: Selenium IDE is recording 。说明现在正在录制中。我们把弹出的浏览器关掉,回到 Selenium IDE 界面,可以看到刚才的操作都被录制下来了,如下图所示。
录制的内容主要有 3 列,第一列是命令,包括点击 click ,输入 type ,执行脚本 run script 等。第二列是目标,即执行命令对应的浏览器 DOM 元素。它支持使用不同的 selector 来选择。比如使用 id 来选择,使用 CSS 来选择等。第三列是值,对于一些命令,比如 type ,需要使用到一些值。
# Generated by Selenium IDE import pytest import time import json from selenium import webdriver from selenium.webdriver.common.by import By from selenium.webdriver.common.action_chains import ActionChains from selenium.webdriver.support import expected_conditions from selenium.webdriver.support.wait import WebDriverWait from selenium.webdriver.common.keys import Keys from selenium.webdriver.common.desired_capabilities import DesiredCapabilities
self.zip_path = self.folder + "\\PEERNGARecords_Unscaled.zip" for i inrange(120): time.sleep(1) if os.path.exists(self.zip_path): break
再定义一个 read_zip 方法,来读取下载的 zip 文件中的地震波:
1 2 3 4 5 6 7 8 9
defread_zip(self, target_folder=None): with zipfile.ZipFile(self.zip_path, "f") as f: nl = f.namelist() accel_files = [] for n in nl: if n.startswith("RSN234") and n.endswith(".AT2"): accel_files.append(n) for af in accel_files: f.extract(af, target_folder if target_folder isnotNoneelse self.folder)
读取好的地震波可以使用前期编写的 pyearthquake 模块进行处理,这里就不再赘述了。
整理代码
前面的代码是由 Selenium IDE 自动生成的,并且没有加入变量。下面对代码进行整理,不烦使用类来实现了,就直接封装为一个函数。这里不赘述了。整理后的代码见下,需要的用户可以直接下载使用。
import time import os import tempfile import zipfile
from selenium import webdriver from selenium.webdriver.common.by import By
defget_peer_accel(user_email, user_pwd, rsas, target_folder): """Get accel file from PEER NGA West2 database Args: user_email (str): user email to login to PEER user_pwd (str): user password to login to PEER rsas (List<int>): list of e/q RSAs target_folder (path): The folder path to save .AT2 files """ # setup temp folder folder = tempfile.mkdtemp() print("Temp dir to download peer file:", folder) # setup options for default download dir prefs = { "download.default_directory": folder } options = webdriver.ChromeOptions() options.add_experimental_option("prefs", prefs) # create driver driver = webdriver.Chrome(options=options) driver.implicitly_wait(20) # Do the job driver.get("https://ngawest2.berkeley.edu/spectras/new?sourceDb_flag=1") driver.set_window_size(1550, 929) driver.find_element(By.ID, "user_email").send_keys(user_email) driver.find_element(By.ID, "user_password").send_keys(user_pwd) driver.find_element(By.ID, "user_submit").click() driver.find_element(By.CSS_SELECTOR, "#buttons > button").click() driver.find_element(By.ID, "search_search_nga_number").click() driver.find_element(By.ID, "search_search_nga_number").send_keys(",".join([str(r) for r in rsas])) driver.find_element(By.ID, "input_box").click() driver.find_element(By.CSS_SELECTOR, ".peer_nga_spectrum > button").click() driver.find_element(By.CSS_SELECTOR, ".peer_nga_spectrum:nth-child(6) > button:nth-child(4)").click() driver.switch_to.alert.accept() driver.switch_to.alert.accept() # set the path for the zip file zip_path = folder + "\\PEERNGARecords_Unscaled.zip" for _ inrange(120): time.sleep(1) if os.path.exists(zip_path): break # read and extract zip file with zipfile.ZipFile(zip_path, "r") as f: nl = f.namelist() accel_files = [] for rsa in rsas: for n in nl: if n.startswith("RSN") and n.endswith(".AT2"): accel_files.append(n) for af in accel_files: f.extract(af, target_folder) print("Got file " + af) driver.close() driver.quit()